15.3 Logs
This section allows to view the logs generated by 64 bits ETERE modules and stored in the logs database
To store logs in the database, verify that one of the following options is enabled in Etere Configuration > Configuration Editor > Logs > Logs Management
LOG TYPE
1) Sql Database: Error, Journal; SNMP Console: Error, Ping
2) Sql Database: Error, Journal, Warning; SNMP Console: Error, Ping
3) Sql Database: All verbosities; SNMP Console: Error, Ping
This setting is applied only to the current workstation.
Note: To display this section in Etereweb, the Web\LOGS permission must be enabled for the currently logged user.
FILTERS
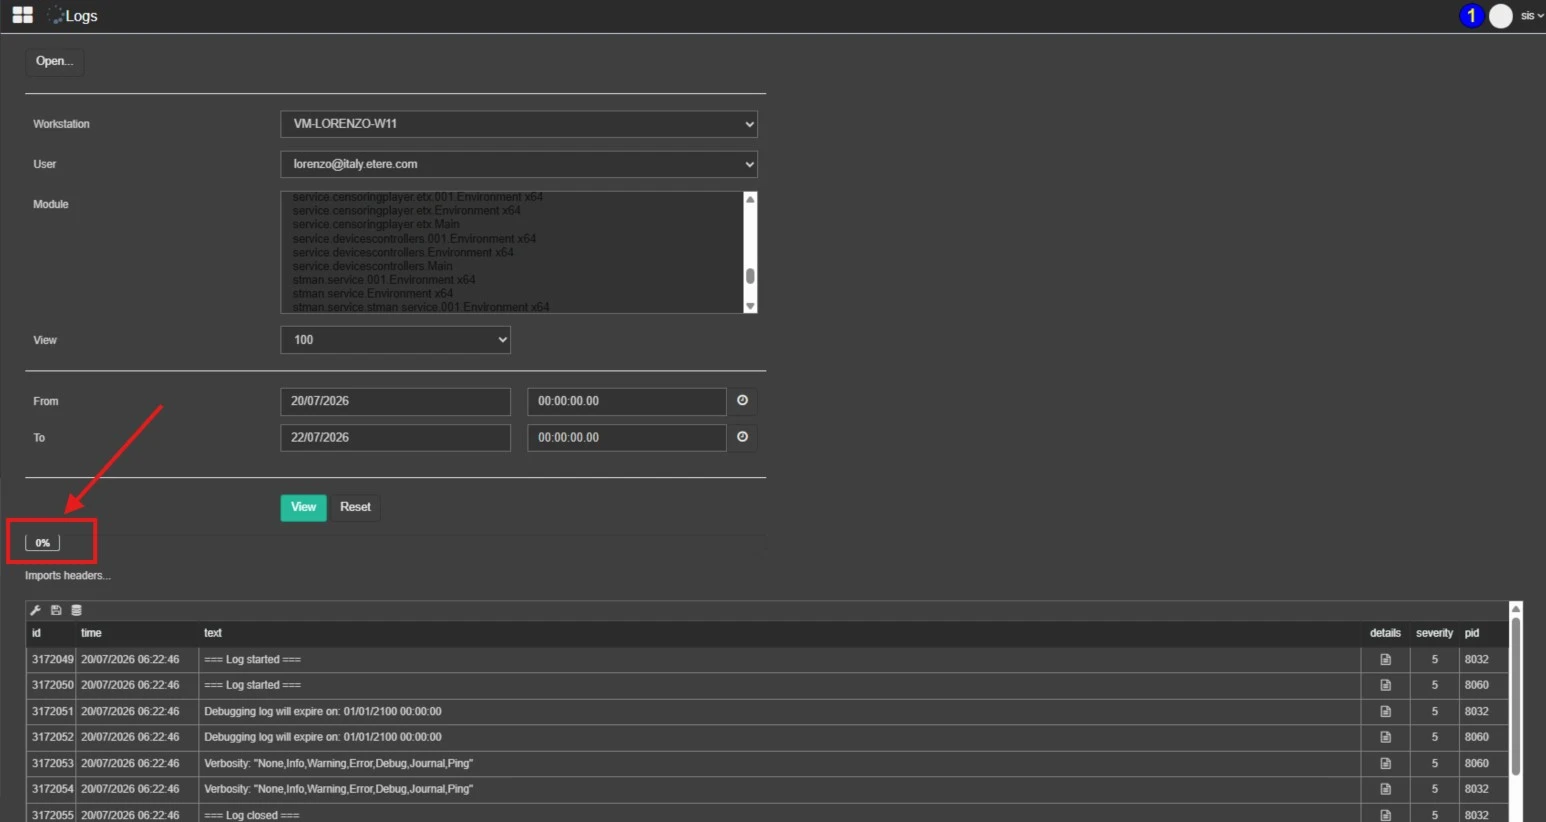
If the parameter above is correctly set, the stored logs can be searched through this Etereweb section by using the following filters:
• Workstation: Filters the log search by workstation. Only workstations where 64 bits modules are running are listed.
• User: Filters the search by the user who executed the module that generated the logs. In case of an Etere service, select the user set as Log On account in the service properties.
• Module: Filters the search by the module that generated the logs. You can use the keyboard shortcuts ALT or CTRL to select multiple items.
• View: Defines the number of records to retrieve. The results are displayed across multiple pages containing 50 records each.
• From - To: Retrieve only the log rows within a specific range of time and days. With the clock button it's possible to set automatically the time fields as the current local time + 1 minute.
Once the filters are set, click the View button to display the logs in the table at the bottom of the page. Use the Reset button to restore the default filter values.
It's also possible to save the configuration of the filters and load it later, in order to save time if the same settings are needed again.
Click the Save button on top of the search results table and provide a descriptive name to save the current set of filters .
It's possible to load the filters configuration through the Open button on top of the page.
Use the trash bin button to delete the saved filters. Use the Generate excel files button to export the logs in CSV format.
LOG RECORDS
The following information is displayed for each log record:
• ID: The identifier of the log record in the database table.
• Time: The date and time of the logged operation displayed in UTC format. Although the time is displayed in UTC format, it is however possible to search with local times, as the times are automatically converted by the query itself.
• Text: The information recorded in the log.
• Details: Allows to display the complete details of the selected log record in a new window
• Severity: A numerical value indicating the importance of the logged information. The higher the value, the more the record is important.
• PID: The Windows identification number of the process that generated the log.
OPERATIONS
The following available buttons, located at the top-left corner of the table, allow to execute these operations on the search results:
Change table columns: Allows to modify the structure of the results table by adding removing or rearranging the displayed columns
Save: It allows to store the current filter settings as an XML structure in a dedicated SQL table and assign a name to them, so they can be easily identified and loaded again using the Open button (see above).
Export: Allows to send selected and saved logs directly to ETERE Support. When the export button is pressed a new form is displayed where it is necessary to enter the ticket title and a description of the issue (type as much information as possible to help Etere Support understand the exact problem, please provide all details like date and time of the issue, asset ID involved and steps performed by the operator). After clicking the Export button, the selected logs are automatically uploaded to the dedicated ETERE Support database, and a new ticket is created. During the upload process, a progress bar is displayed showing the upload percentage. Once done, the logs will be ready to be analyzed by support team and the newly created ticket will then be handled according to priority.
Note: To make sure that the Export works properly, the workstation must have an active and fully functional Internet connection.
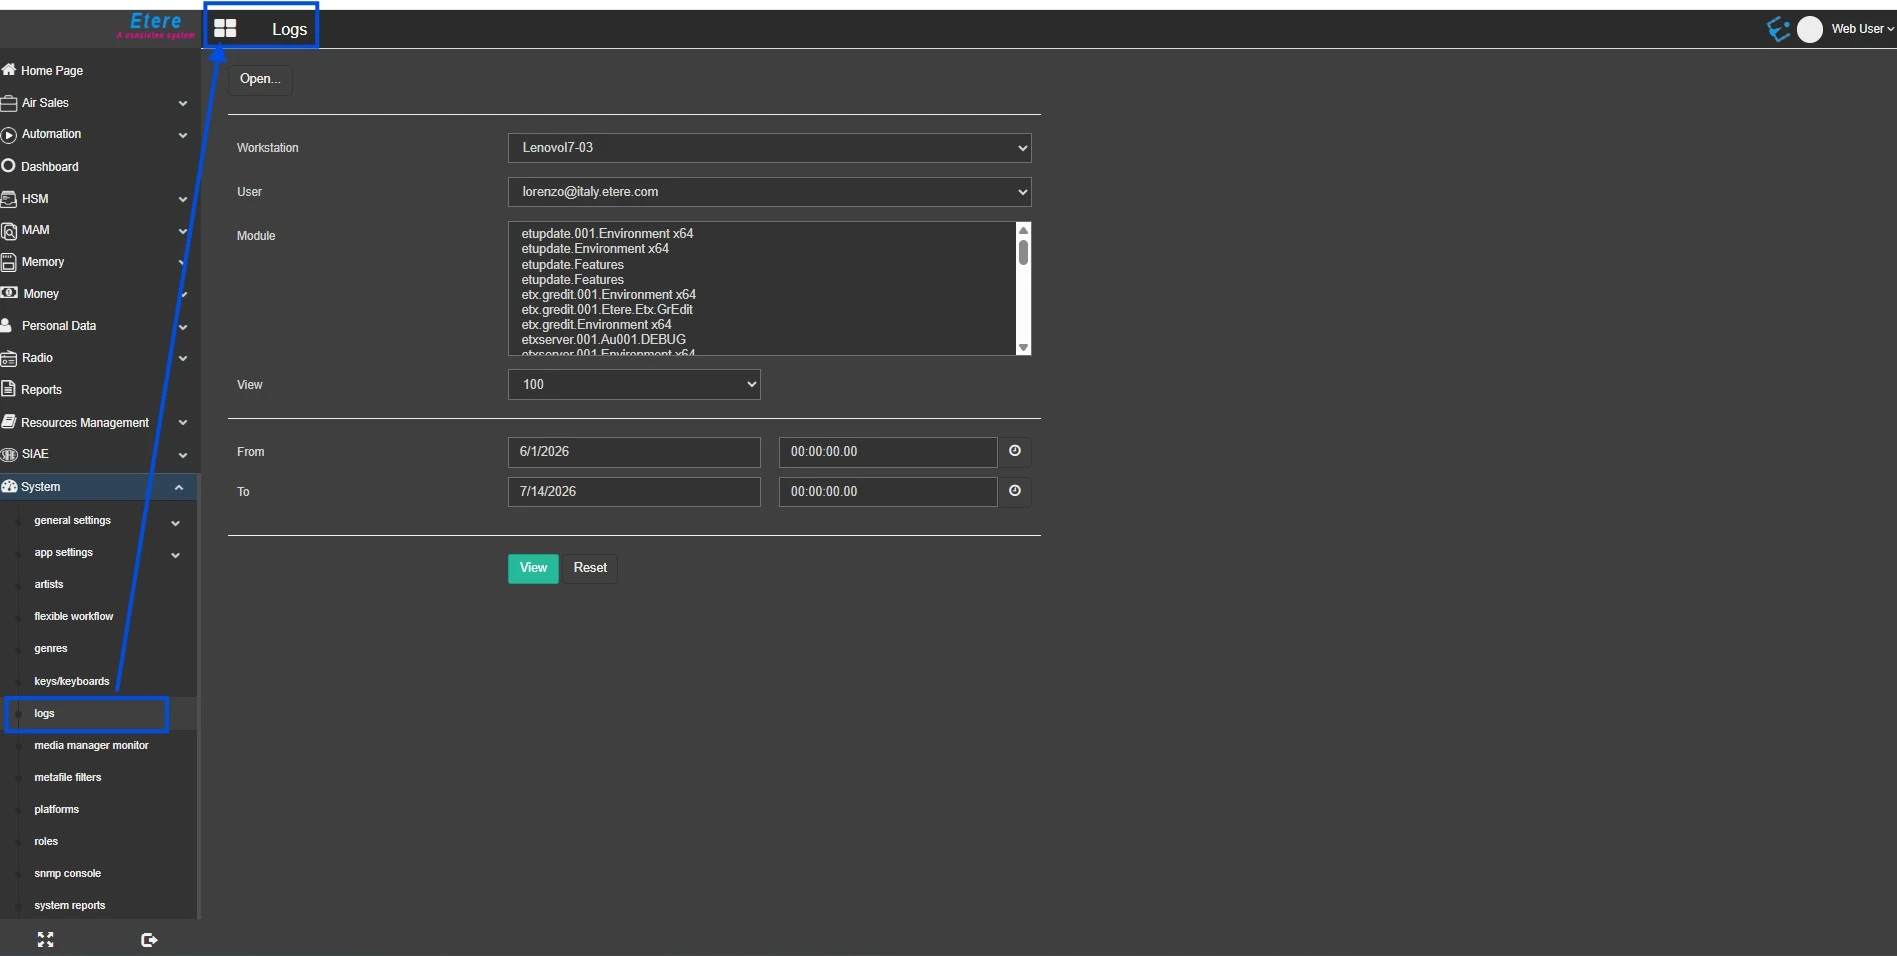 EtereWebLOGS
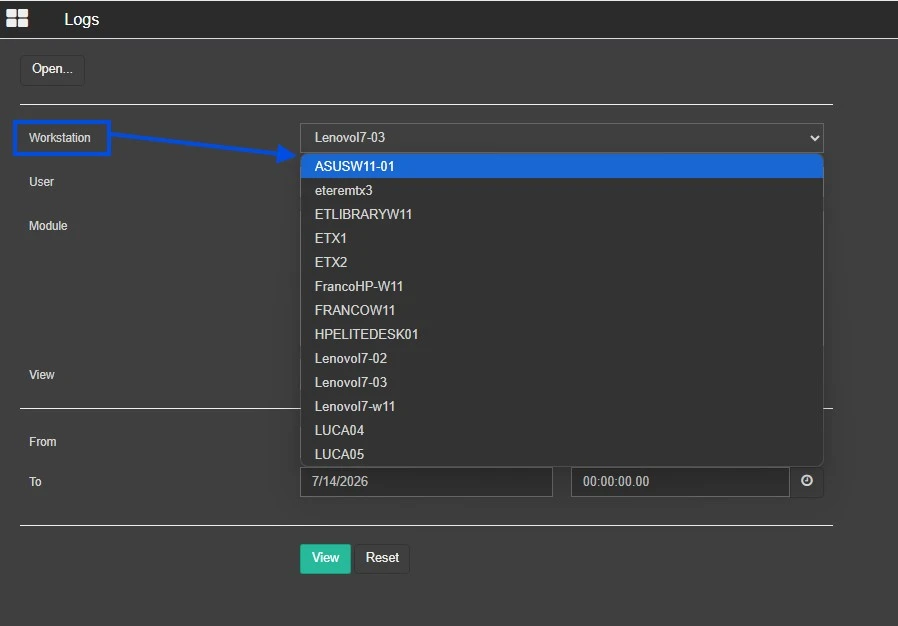 SelectWorkstation
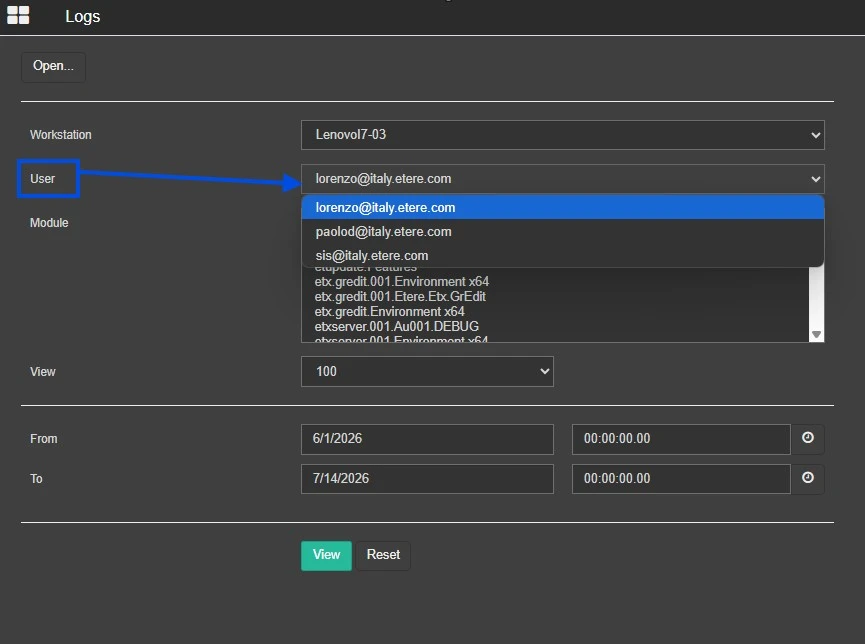 SelectUser
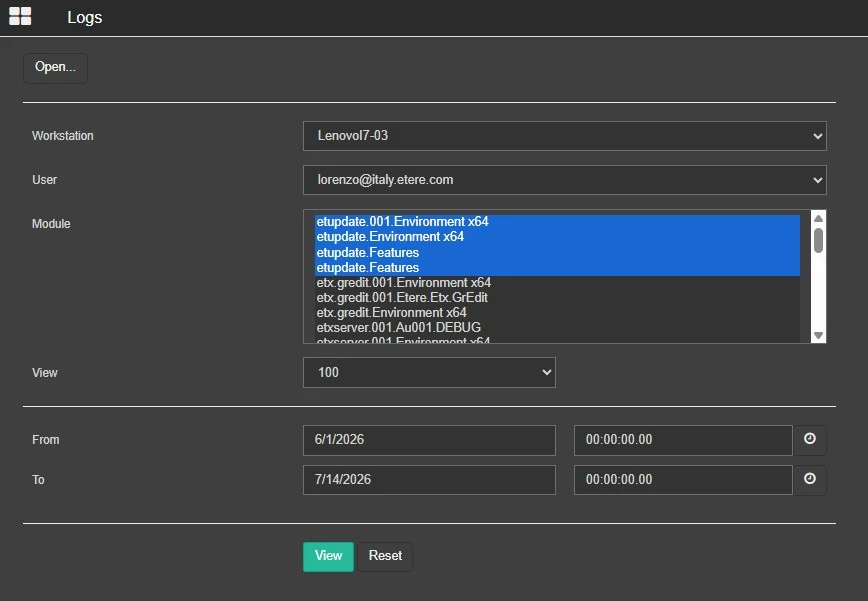 SelectEtereModules
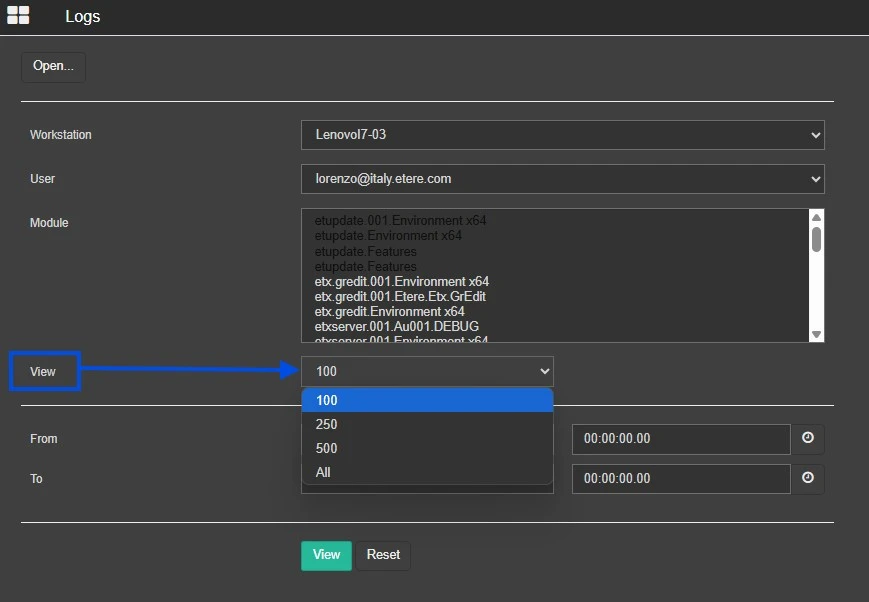 SelectRowsToShow
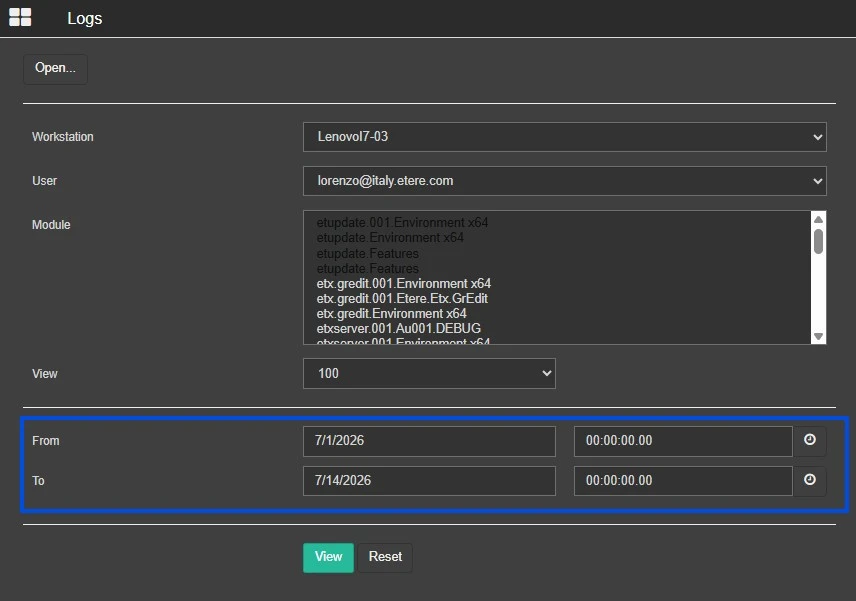 SelectRageFromTo
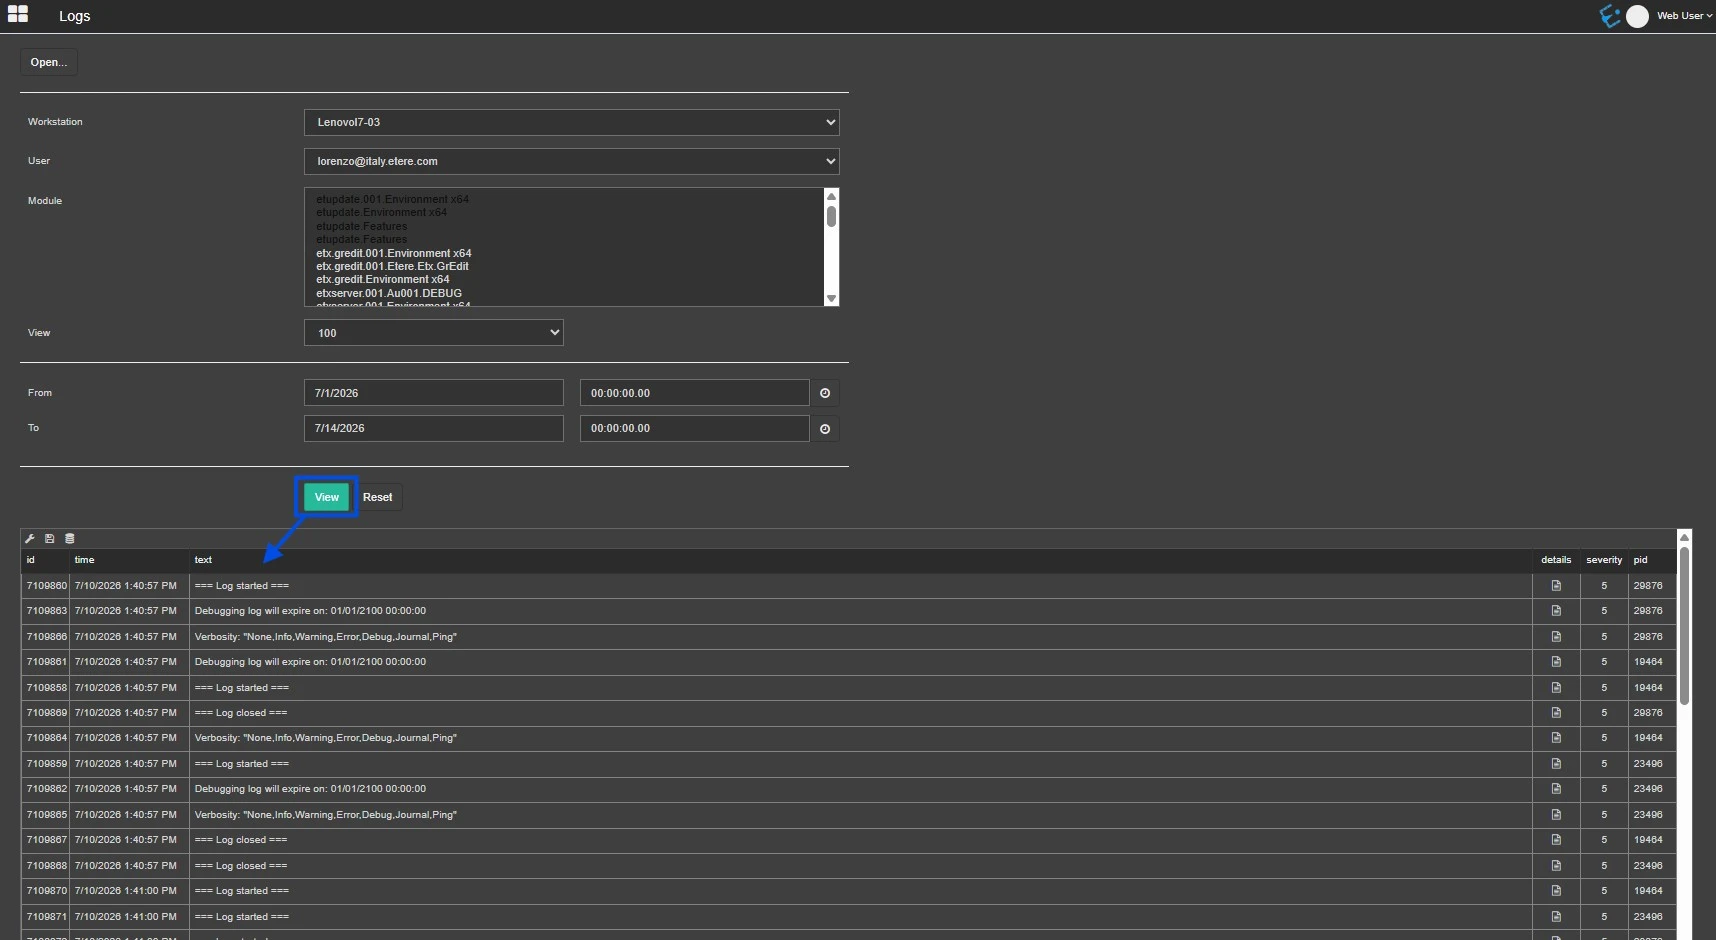 ViewToSeeTheVideo
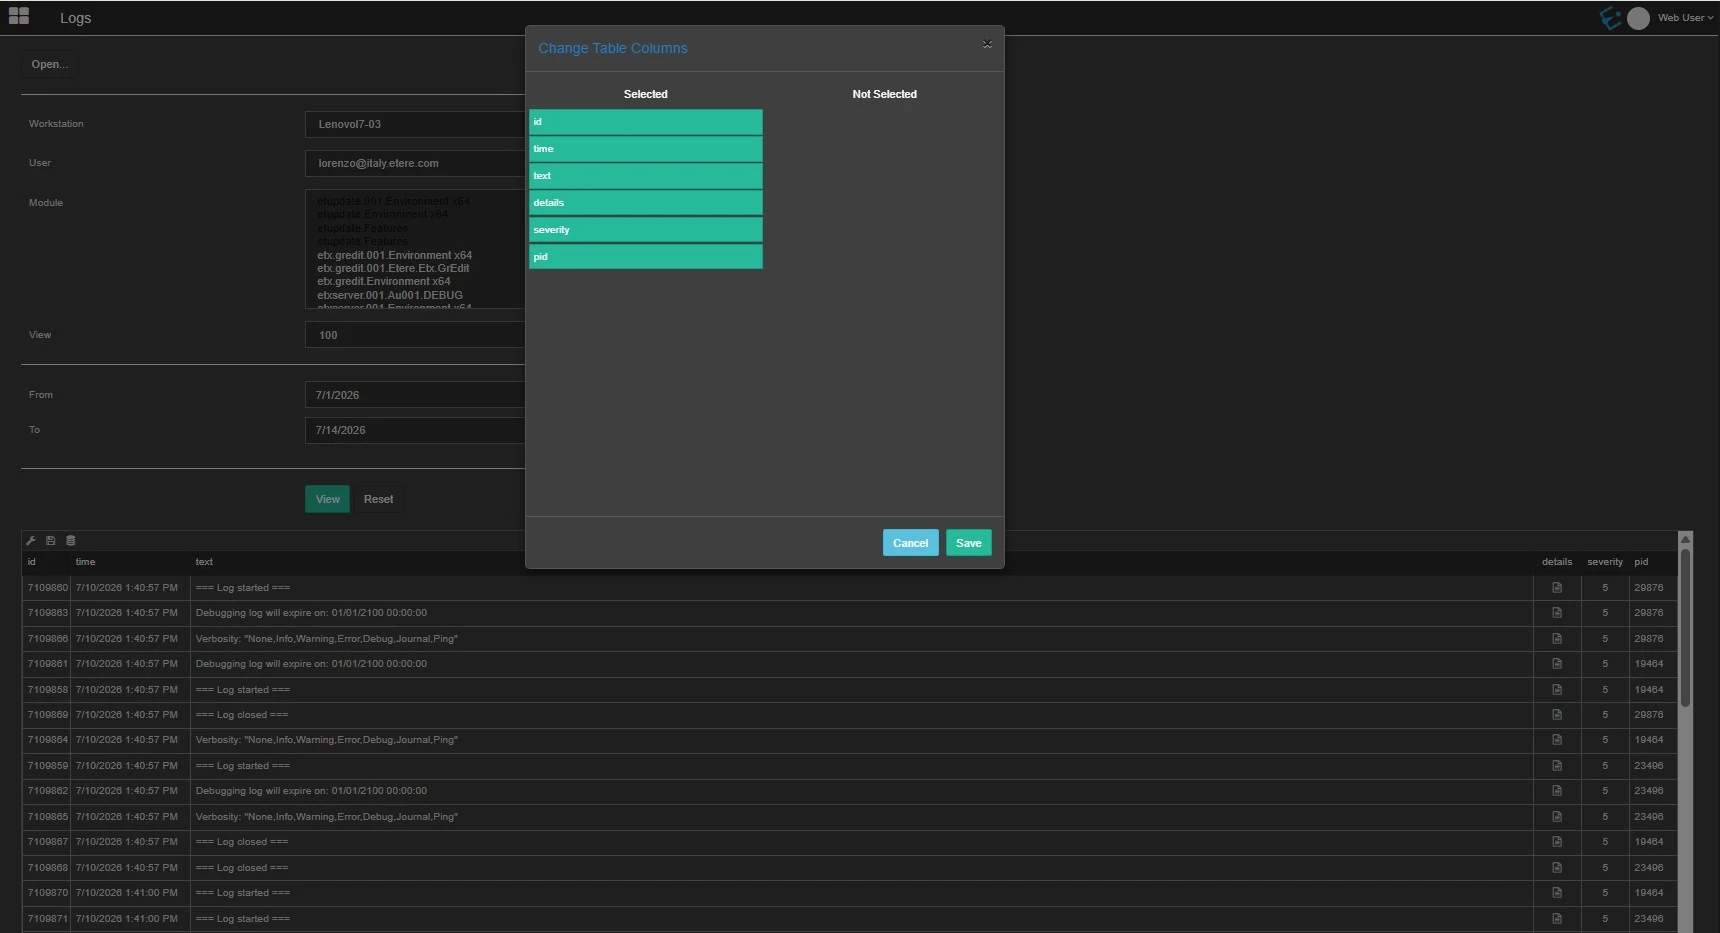 ResultsCoulmns
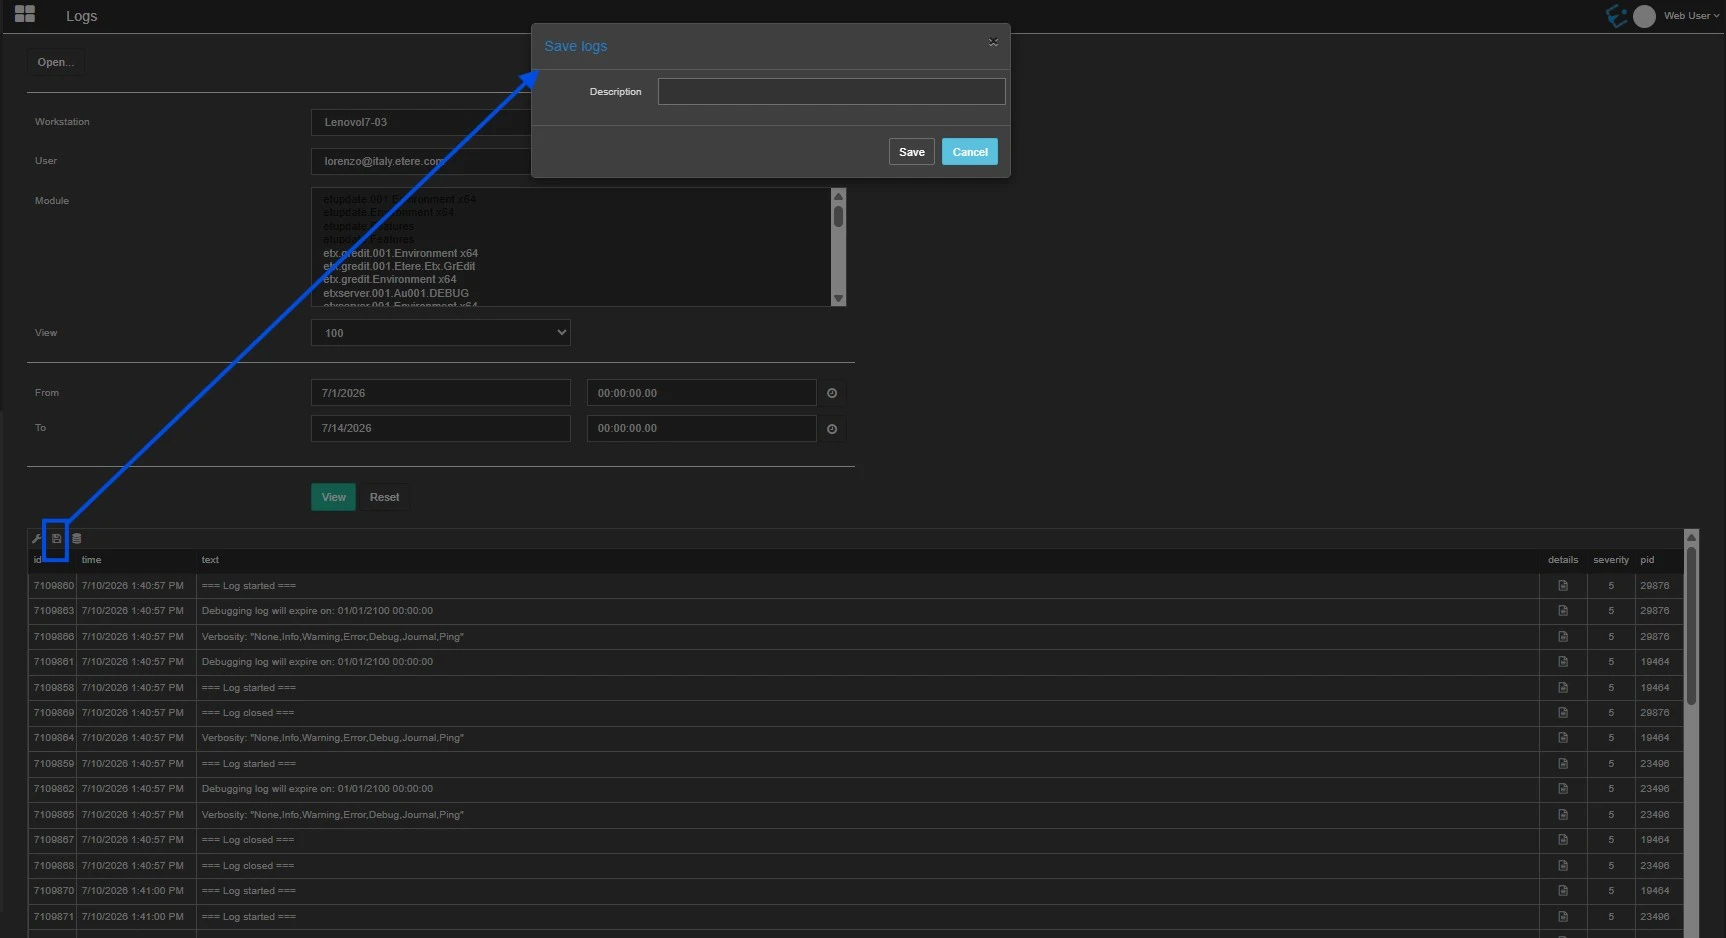 SaveSearch
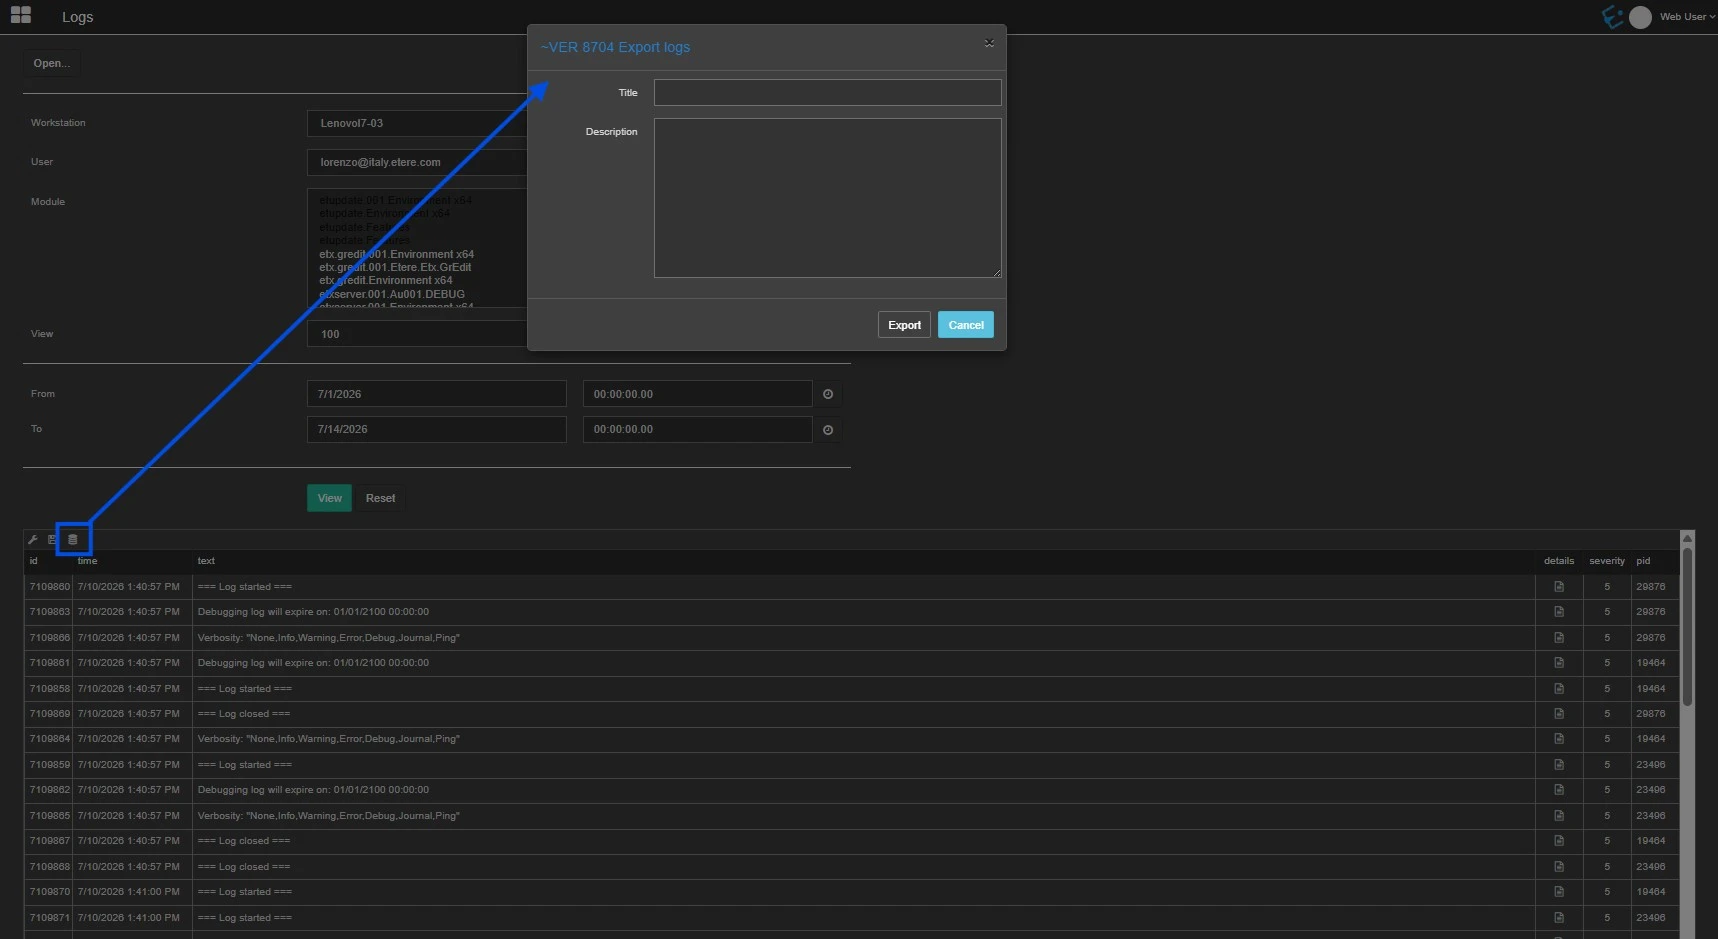 SendLogsToEtereSupport
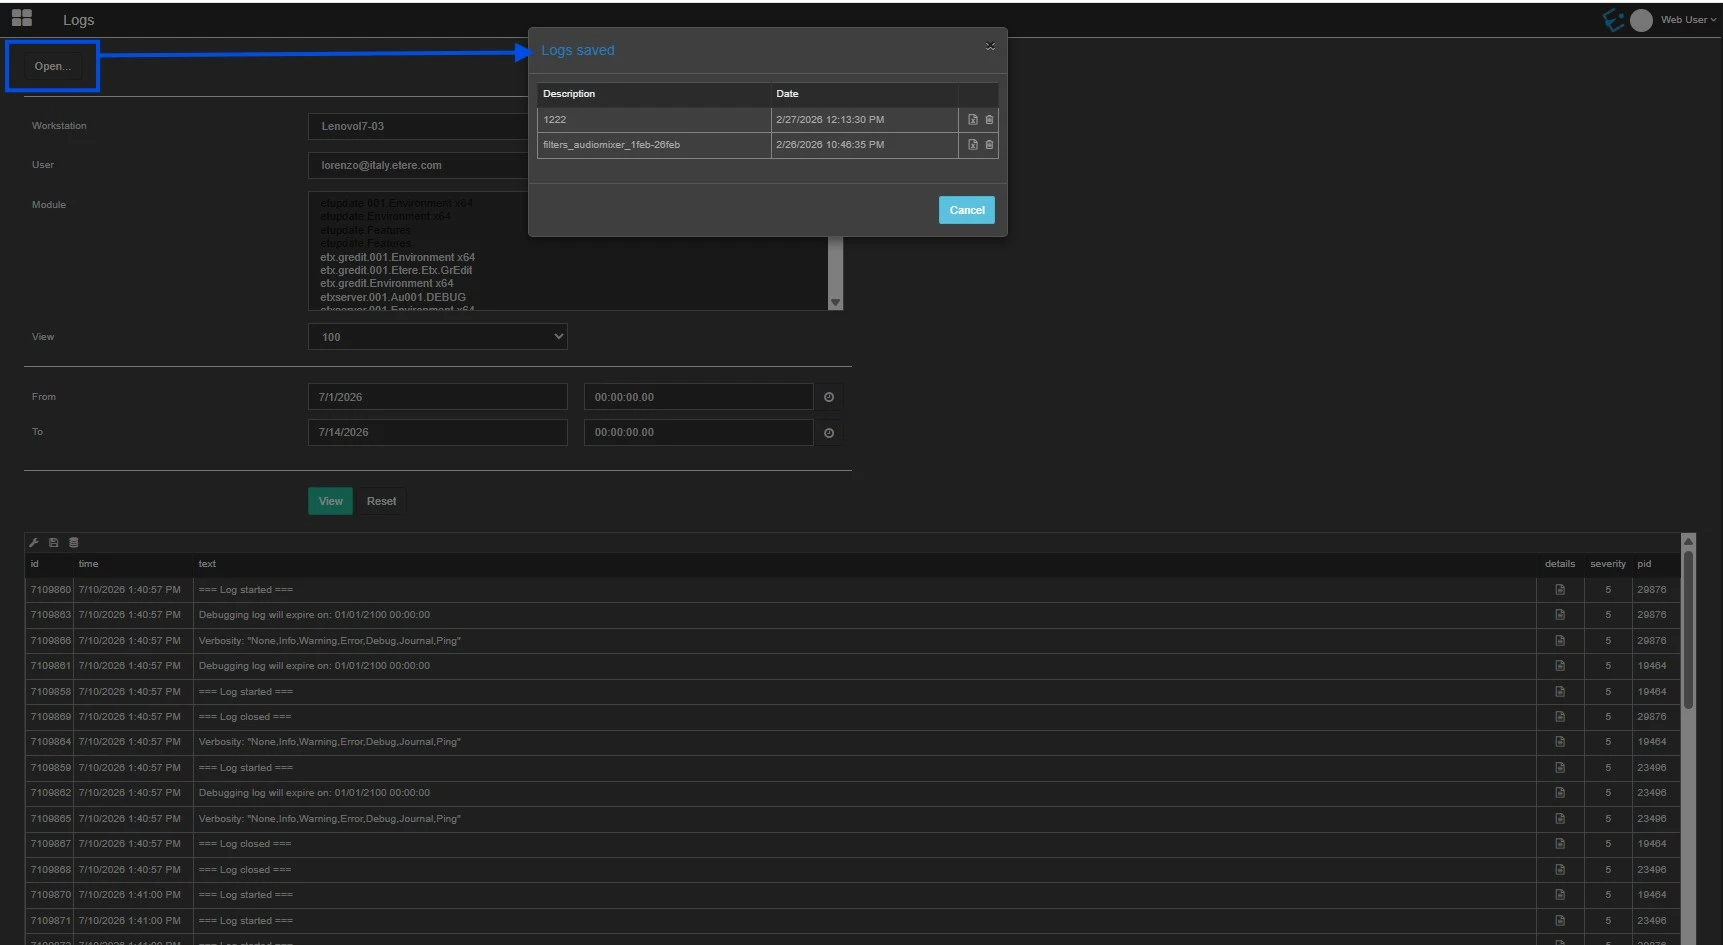 OpenSavedLogs
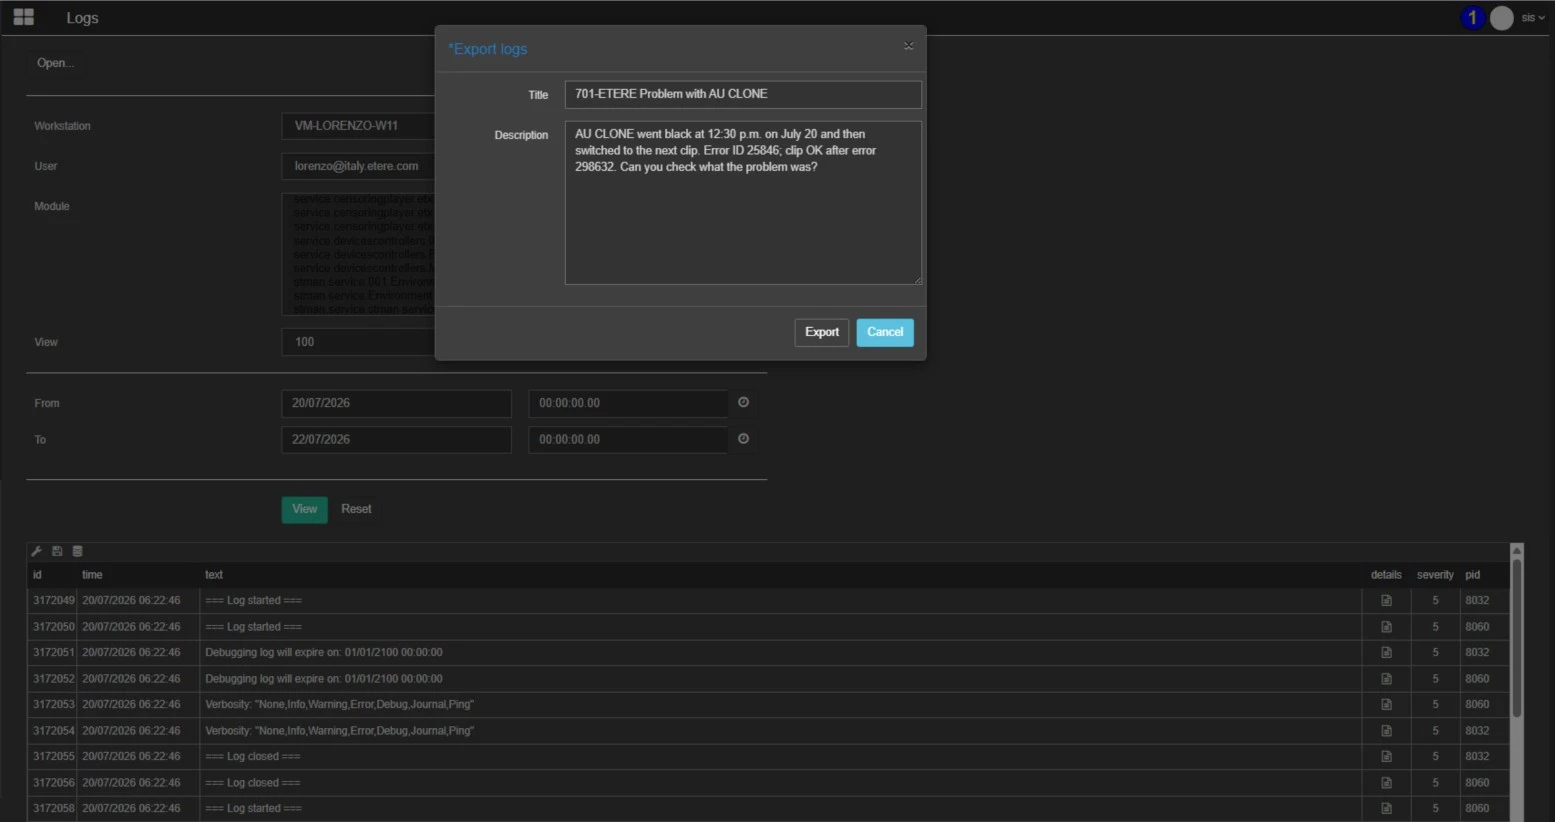 Example1_CreateTicketforSupportH24
 Example2_CreateTicketforSupportH24